Build a Pro Video Editor in React: A 15-Minute Integration Guide
May 21, 2026 · By VideoFlowLearn how to drop a professional, multi-track video editor into your React application in 15 minutes using VideoFlow's embeddable component.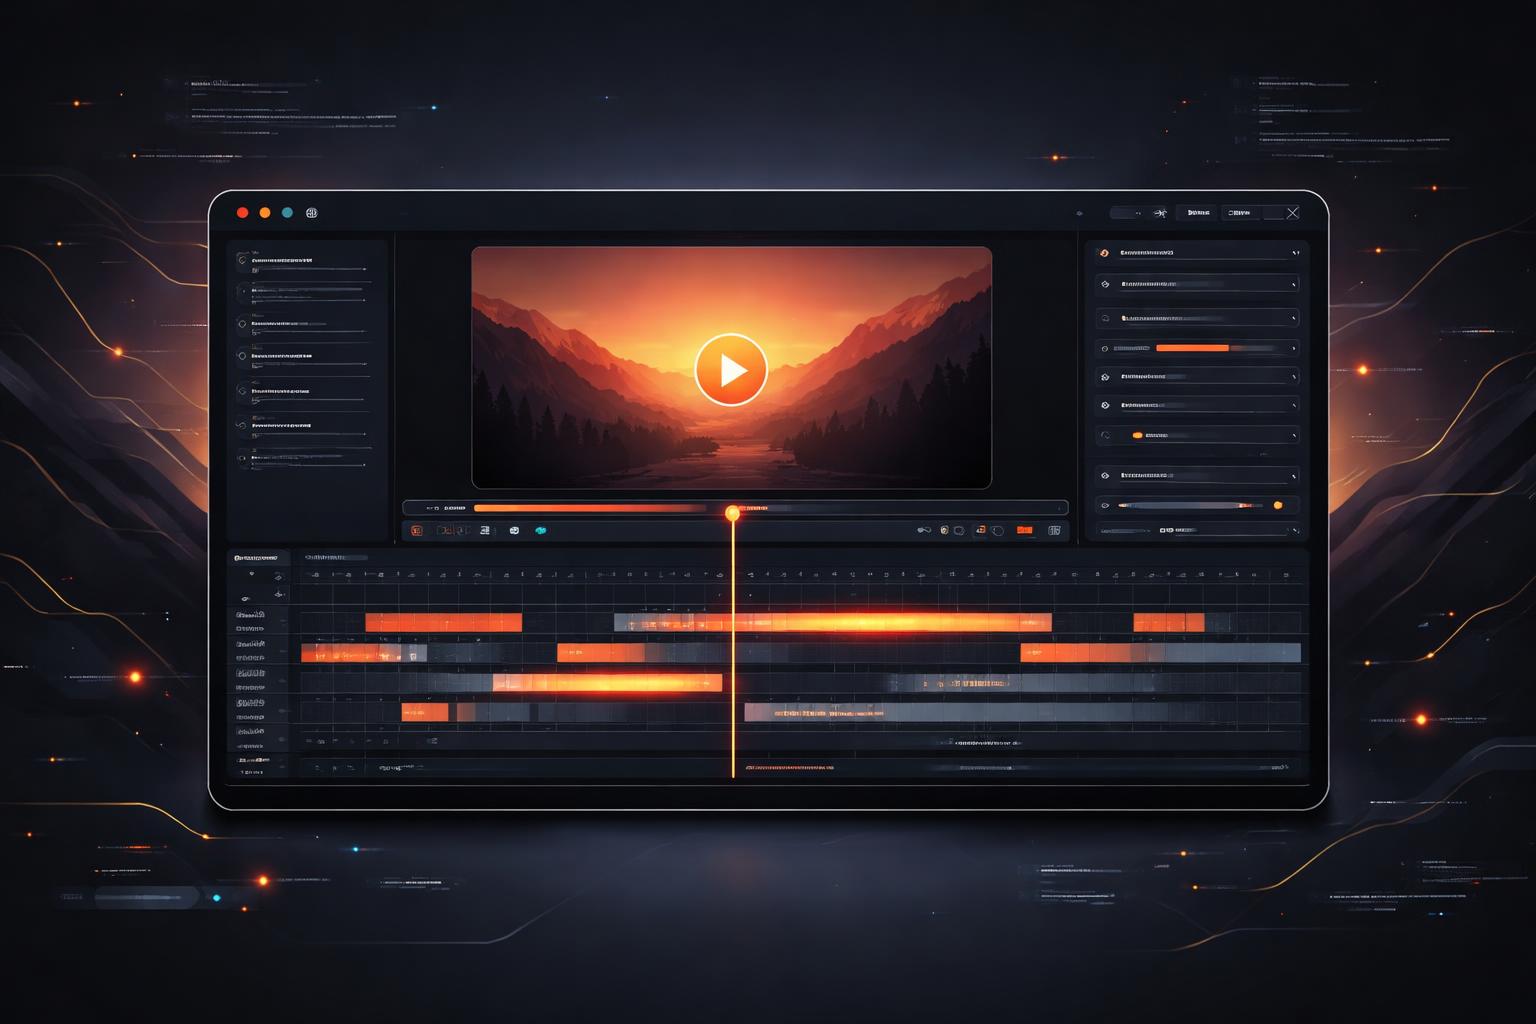
Build a Pro Video Editor in React: A 15-Minute Integration Guide
Building a video editor from scratch is a multi-month engineering effort. Between managing a frame-accurate timeline, handling complex GLSL effects, and ensuring multi-track synchronization, most teams get bogged down in infrastructure before they even ship a feature.
But what if you could drop a professional, multi-track video editor into your React application as easily as a date picker?
Enter the @videoflow/react-video-editor—a drop-in component that handles the heavy lifting of video composition while giving you full programmatic control over the output. In this guide, we’ll walk through how to integrate a pro-grade editor into your SaaS product in under 15 minutes.
Why Your App Needs an Embeddable Editor
Whether you are building a social media automation tool, a personalized SaaS recap generator, or an internal content factory, giving your users a visual interface to tweak programmatic videos is a massive UX win.
Instead of forcing users to guess how a JSON-defined video will look, the VideoFlow React Video Editor provides a real-time, frame-accurate preview. It bridges the gap between "video as code" and "video as a creative tool."

Step 1: Installation and Basic Setup
First, install the editor package along with the core VideoFlow library. The editor is built to be lightweight but requires the core logic to handle the VideoJSON schema.
npm install @videoflow/core @videoflow/react-video-editor
Now, let's set up the most basic implementation. The editor requires an initial video object (VideoJSON) and an onChange handler to track edits.
import { VideoEditor } from '@videoflow/react-video-editor';
import '@videoflow/react-video-editor/style.css';

const initialVideo = {
  name: 'New Project',
  width: 1920,
  height: 1080,
  fps: 30,
  duration: 10,
  layers: [],
};

export default function MyEditor() {
  return (
    <div style={{ height: '100vh' }}>
      <VideoEditor
        video={initialVideo}
        onChange={(updatedVideo) => {
          console.log('Project updated:', updatedVideo);
        }}
        theme="dark"
      />
    </div>
  );
}
Step 2: Handling Media Uploads
An editor is only useful if users can add their own assets. VideoFlow makes this easy with the onUpload prop. This function intercepts file selections and allows you to upload them to your S3 bucket or CDN, returning the public URL for the editor to use.
<VideoEditor
  video={video}
  onUpload={async (file) => {
    const url = await myUploadService(file);
    return url; // The editor will now use this URL for the new layer
  }}
/>
This pattern ensures that your application remains the source of truth for assets while the editor stays purely focused on composition. If you want to see how the captions layer handles these assets, check out our guide on automated video subtitles.
Step 3: Customizing the Look and Feel
VideoFlow doesn't force a specific aesthetic on your product. You can choose from four built-in themes (light, grey, dark, night) or override specific CSS variables to match your brand's orange accents or sleek dark mode.
<VideoEditor
  theme="night"
  style={{
    '--vf-primary': '#FF5A1F', // VideoFlow Orange
    '--vf-accent': '#a855f7',
    '--vf-radius': '8px',
  }}
/>
By leveraging CSS variables, you can ensure the editor feels like a native part of your UI rather than a clunky iframe or third-party widget.

Step 4: Programmatic Control with Hooks
For more advanced use cases, the editor exposes its internal state via hooks. You can read the current selection, trigger undos, or even dispatch commands from your own custom UI panels.
import { useEditor, useSelection } from '@videoflow/react-video-editor';

function CustomToolbar() {
  const { ids } = useSelection();
  const canUndo = useEditor((s) => s.canUndo);

  return (
    <div>
      <span>{ids.length} layers selected</span>
      <button disabled={!canUndo}>Undo</button>
    </div>
  );
}
This level of access allows you to build a truly bespoke editing experience while relying on the VideoFlow Core to handle the complex rendering logic.
Exporting the Result
Once the user is happy with their creation, you need to render it. The editor includes a built-in export modal that uses @videoflow/renderer-browser to generate an MP4 directly in the user's tab. This saves you server costs and provides instant gratification for the user.
<VideoEditor
  onExportComplete={(blob) => {
    // Send the finished MP4 to your server or let the user download it
    const url = URL.createObjectURL(blob);
    const a = document.createElement('a');
    a.href = url;
    a.download = 'my-video.mp4';
    a.click();
  }}
/>
Conclusion
The @videoflow/react-video-editor isn't just a component; it's a shortcut to shipping professional video features. By handling the timeline, preview, and export logic, it lets you focus on what makes your product unique.
Ready to try it out? Head over to the VideoFlow Playground to see the editor in action, or dive into the full documentation to explore the API. If you're ready to start building, the source code is available on GitHub.
Happy coding!