
Mastering Blend Modes: Creating Cinematic Visuals with Code
August 22, 2026 · By VideoFlowLearn how to use blend modes in VideoFlow to create cinematic visuals with code. Master the math behind Screen, Multiply, and Color Dodge for programmatic video.
Professional video production is rarely about just stacking layers on top of each other. In high-end motion design, the magic happens in the interaction between those layers. If you've ever used After Effects or Photoshop, you know that blend modes are the secret sauce for achieving cinematic lighting, organic textures, and complex color grading.
In VideoFlow, blend modes aren't just a UI dropdown—they are high-performance GLSL operations that you can control directly through the VideoFlow Core API. By treating video as code, you can programmatically swap blend modes, animate the layers they affect, and create visuals that would be tedious to build by hand.
The Mathematical Art of Blending
At its core, a blend mode is a mathematical formula applied to two overlapping pixels: the source (the layer you are adding) and the backdrop (what's already on the canvas).

VideoFlow supports 16 standard blend modes, including:
- Multiply: Darkens the backdrop based on the source color. Perfect for adding shadows or ink-bleed effects.
- Screen: The opposite of multiply; it brightens the backdrop. Ideal for light leaks, flares, and fire.
- Overlay: A combination of multiply and screen that preserves highlights and shadows while shifting the midtones.
- Color Dodge: Brightens the backdrop to reflect the source color. This is the 'glow' mode used for high-energy futuristic UI.
Implementing Blend Modes in TypeScript
Adding a blend mode to a layer in VideoFlow is as simple as setting a property. Because blend modes live in the first argument (the properties object), they are fully compatible with the rest of the visual stack, including stacked GLSL effects.
import VideoFlow from '@videoflow/core';

const $ = new VideoFlow({ width: 1920, height: 1080 });

// 1. Add a background video
const bg = $.addVideo(
  { fit: 'cover' },
  { source: 'https://assets.videoflow.dev/samples/night-city.mp4' }
);

// 2. Add a 'Screen' layer for a light-leak effect
const lightLeak = $.addImage(
  {
    opacity: 0.8,
    blendMode: 'screen', // This makes black areas transparent
    scale: 1.2
  },
  { source: 'https://assets.videoflow.dev/samples/light-leak.jpg' }
);

// 3. Add a high-contrast 'Color Dodge' title
const title = $.addText({
  text: 'NEON NIGHTS',
  fontSize: 8,
  color: '#FF5A1F',
  blendMode: 'color-dodge',
  position: [0.5, 0.5]
});

title.fadeIn('800ms');
$.wait('3s');

await $.compile();
Why Your Pipeline Should Be Programmatic
When you use a traditional NLE, changing a blend mode across 50 different personalized videos is a nightmare. With VideoFlow, it's a single line of code. This makes it possible to build programmatic video factories that adapt their visual style based on the content.
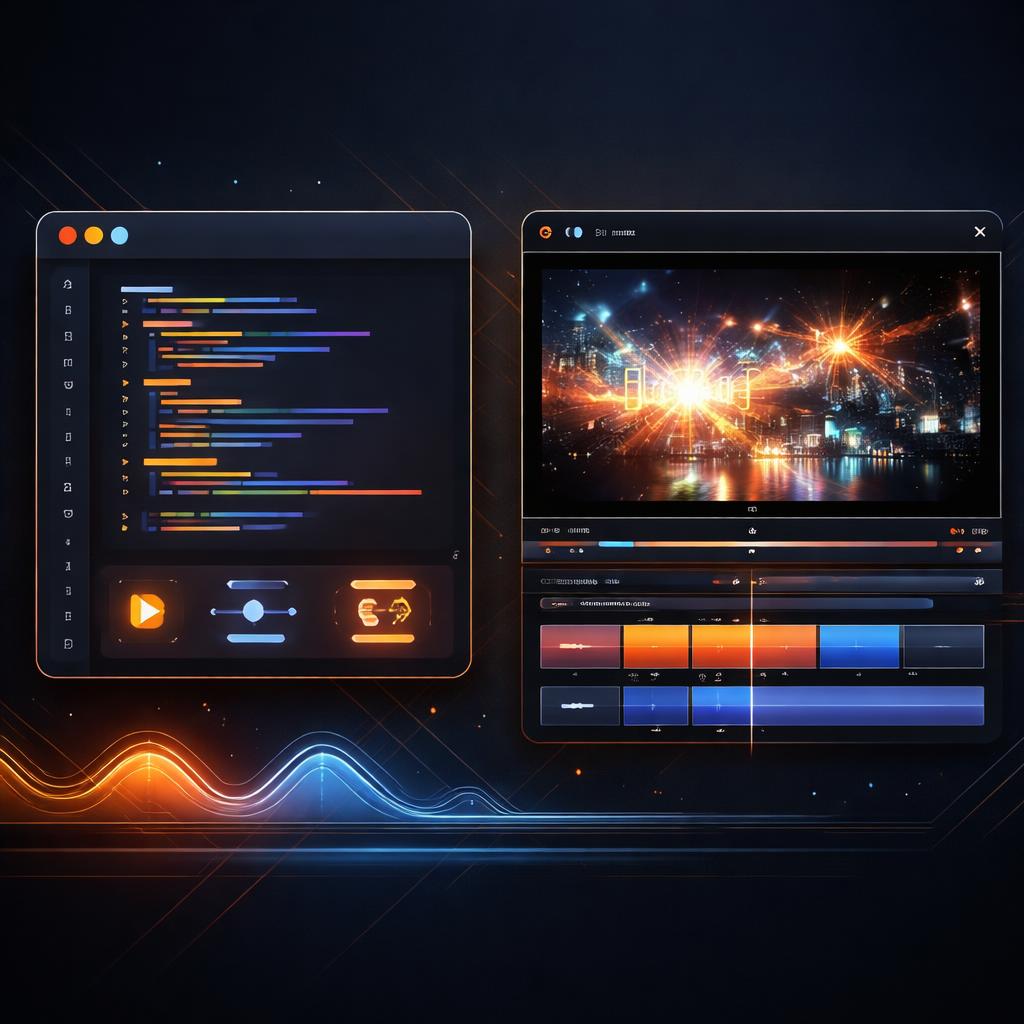
Imagine a SaaS dashboard that generates a 'Year in Review' video for every user. You could programmatically choose a 'Multiply' blend mode for dark-mode users to keep the aesthetic moody, or 'Overlay' for light-mode users to keep the colors vibrant. This level of art direction at scale is only possible when your video is represented as a portable JSON document.
Performance and Portability
One of the biggest advantages of VideoFlow's architecture is that these blend modes render identically across all three official renderers. Whether you are providing a live preview in the DOM or exporting a high-bitrate MP4 on the server, the GLSL math remains consistent.
Because VideoFlow uses WebGL/WebCodecs under the hood, these blend operations are extremely efficient. You can stack dozens of layers with complex blending without hitting the performance bottlenecks typical of CPU-based rendering pipelines.
Getting Started
Ready to elevate your video automation? Start by exploring our comprehensive guides or head over to the VideoFlow GitHub to see how the core engine handles these cinematic primitives.
If you want to see blend modes in action without writing a line of code, try our interactive Playground. Just add a layer, open the inspector, and experiment with the blendMode property to see how it transforms your scene in real-time.