
How to Render MP4 Videos in Node.js without FFmpeg
July 8, 2026 · By VideoFlowLearn how to render high-quality MP4 videos in Node.js without installing FFmpeg. Use VideoFlow's headless WebCodecs pipeline for fast, programmatic video generation.
How to Render MP4 Videos in Node.js without FFmpeg
If you have ever built a programmatic video pipeline, you know the drill: install FFmpeg, fight with static binaries in your Docker container, and eventually get lost in a sea of obscure CLI flags. It works, but it feels like a relic of a different era.
What if you could render MP4 in Node.js without FFmpeg?
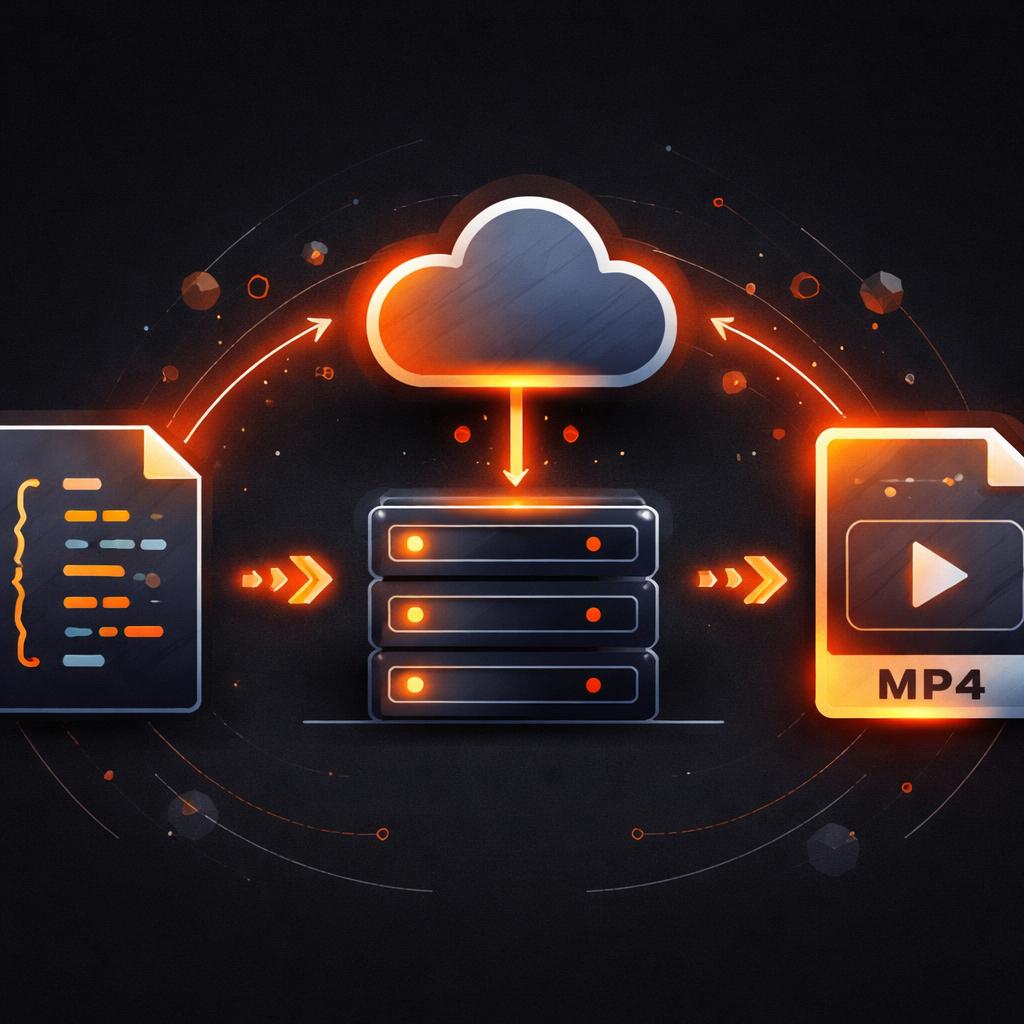
Modern browser APIs have changed the game. With the advent of WebCodecs and headless browser automation, we can now generate high-quality video files using the same hardware-accelerated engines that power the web. In this guide, we will look at how VideoFlow leverages these technologies to provide a fast, stable, and dependency-free rendering pipeline for Node.js.
The FFmpeg Bottleneck
FFmpeg is the industry standard for a reason, but for cloud-native developers, it introduces significant friction:
- Binary Dependencies: You can't just
npm installFFmpeg. You need to ensure the correct version is present in your environment, which complicates CI/CD and serverless deployments. - The "Stringly-Typed" API: Orchestrating complex edits involves concatenating massive strings of filter-graphs. One missing semicolon can crash your entire render.
- Encoding Overhead: Traditional headless rendering often involves taking screenshots of every frame and piping them into FFmpeg's stdin, which is notoriously slow and CPU-intensive.
Enter WebCodecs: A Modern Alternative
WebCodecs is a low-level browser API that provides direct access to video and audio encoders. It allows us to encode frames directly into an MP4 container without the overhead of per-frame screenshots or external binaries.
VideoFlow's @videoflow/renderer-server uses this to its advantage. By running a headless Chromium instance (via Playwright), it executes the same rendering logic used in the browser but outputs a final Buffer or file directly on your server. This means your video rendering pipeline is unified across development and production.
How to Render Video in Node.js
To get started, you'll need the core library and the server renderer. Unlike other solutions, you don't need to hunt for FFmpeg binaries; you just need Playwright to install its bundled Chromium browser.
npm install @videoflow/core @videoflow/renderer-server
npx playwright install chromium
Now, you can write a simple script to generate a video. Because VideoFlow uses a portable VideoJSON schema, the code you write here is exactly what you would use in our interactive Playground.
import VideoFlow from '@videoflow/core';
import '@videoflow/renderer-server'; // Registers the Node.js renderer

const $ = new VideoFlow({ width: 1280, height: 720, fps: 30 });

// Add a background
$.addImage(
  { fit: 'cover' },
  { source: 'https://images.unsplash.com/photo-1618005182384-a83a8bd57fbe' }
);

// Add a title with a transition
const title = $.addText({
  text: 'No FFmpeg Required',
  fontSize: 6,
  color: '#FF5A1F',
  fontWeight: 700,
  position: [0.5, 0.5]
}, {
  transitionIn: { transition: 'blurResolve', duration: '800ms' }
});

$.wait('3s');
title.fadeOut('500ms');

// Render directly to a file
await $.renderVideo({
  outputType: 'file',
  output: './marketing-video.mp4',
  verbose: true
});

console.log('Video rendered successfully!');

Why This Matters for SaaS Builders
When you are building automated content factories or personalized video tools, speed and reliability are everything. By moving away from FFmpeg-based shell commands to a typed, headless pipeline, you gain several advantages:
- Byte-for-byte Consistency: Since VideoFlow uses the same engine for live previews and server renders, what you see in our examples gallery is exactly what you get in your MP4.
- Lower Infrastructure Costs: WebCodecs is significantly more efficient than the screenshot-and-pipe method, allowing you to render more videos per minute on smaller instances.
- Developer Experience: You get full TypeScript support for every transition, effect, and property. No more guessing FFmpeg flags.
As we discussed in our post on The Three-Renderer Rule, the future of video is portable, JSON-based, and decoupled from heavy legacy binaries.
Ready to Ditch FFmpeg?
VideoFlow is open-source (Apache-2.0) and built for developers who want to treat video like code. Whether you are automating social media posts or building a full-scale video editor, you can start rendering today without ever touching a command-line flag.
Check out the VideoFlow GitHub repo to see the source, or dive into the official documentation to explore our 27+ cinematic transitions and 42+ GLSL effects.