
Mastering Cinematic Compositing: A Guide to VideoFlow BlendModes
October 2, 2026 · By VideoFlowLearn how to use VideoFlow BlendModes to create cinematic, professional-grade programmatic videos. Master the art of compositing layers with Screen, Multiply, and Overlay.
Mastering Cinematic Compositing: A Guide to VideoFlow BlendModes
Most automated video looks... automated. You’ve seen it: flat text overlays, static images, and a lack of depth that screams "generated by a script." While programmatic video editing has mastered the what (placing layers on a timeline), it often misses the how—the subtle visual interplay that makes a frame feel like a finished shot rather than a stack of assets.
In professional cinema and motion graphics, that depth comes from compositing. It’s the art of combining multiple visual elements so they feel like they exist in the same space. And in the VideoFlow ecosystem, the primary tool for achieving this is the blendMode property.
Why Compositing Matters in Programmatic Video
When you’re building a video pipeline—whether it’s for personalized SaaS recaps, automated social media trailers, or LLM-driven content factories—your output is competing for attention. A "flat" video feels like a presentation; a "composited" video feels like a brand experience.
By mastering VideoFlow BlendModes, you move beyond simple opacity. You start controlling how light, color, and texture pass between layers. This is how you create realistic glows, integrate HUD elements, or apply cinematic grain without washing out your primary subject. It turns your code-driven video from a technical output into a professional asset.
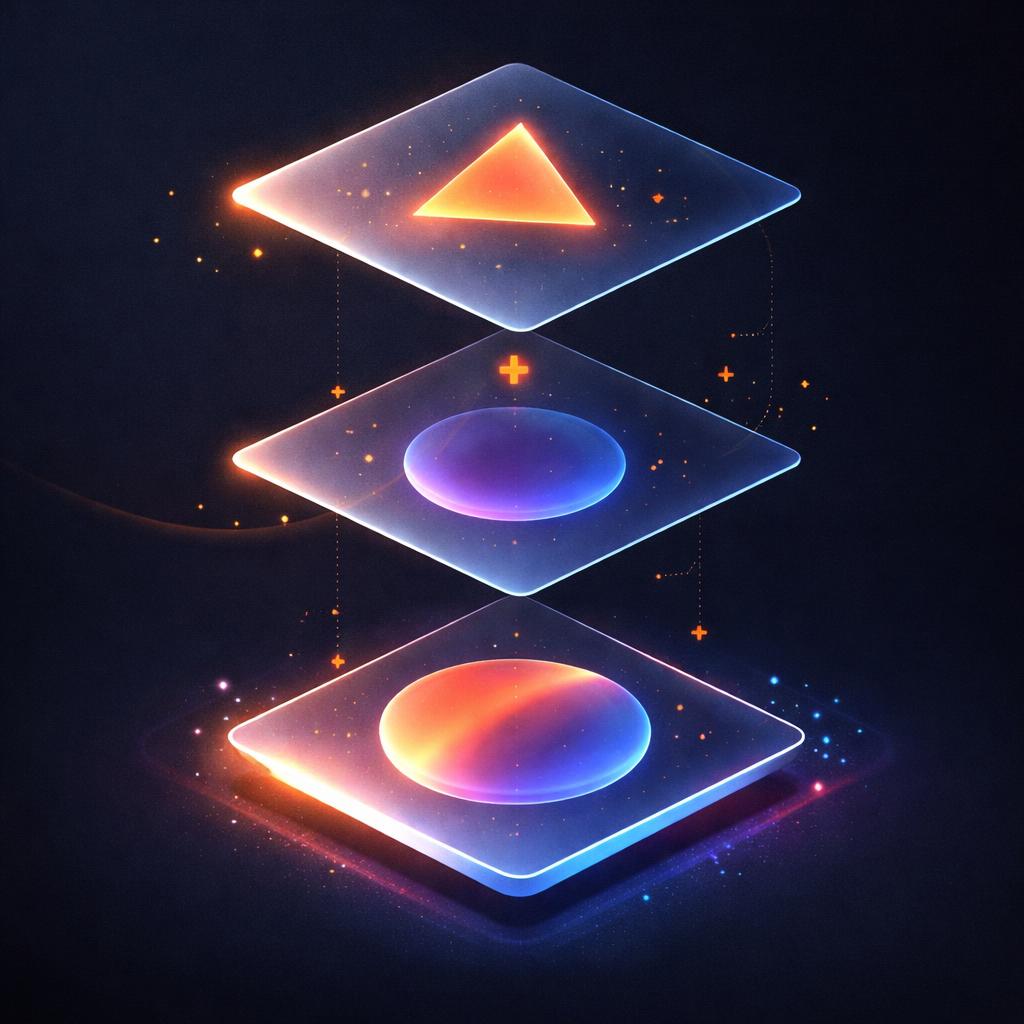
The Anatomy of a BlendMode
In VideoFlow, blendMode is a property available on every visual layer type (text, image, video, and shape). It follows the standard CSS compositing model but is rendered with frame-perfect accuracy across all three official renderers.
Unlike opacity, which simply makes a layer transparent, a blend mode uses a mathematical formula to combine the pixels of the current layer (the source) with the pixels of the layers beneath it (the backdrop).
VideoFlow supports 16 standard blend modes, including screen, multiply, overlay, darken, lighten, and color-dodge. You can set these directly in the first argument of any layer builder method:
$.addShape({
  fill: '#FF5A1F',
  blendMode: 'screen', // This layer will now 'lighten' the backdrop
  opacity: 0.8,
}, {
  shapeType: 'rectangle'
});
Practical Patterns for Cinematic Depth
1. The HUD/Glow Effect (Screen Mode)
If you are building an automated dashboard video or a technical explainer, you likely want elements to "glow" against a dark background. Using blendMode: 'screen' is the industry standard for this. It ignores black pixels and only adds the lighter values to the backdrop.
Combine this with the bloom effect from our GLSL effects guide for a truly high-end look:
const glowLayer = $.addShape({
  width: 40,
  height: 20,
  fill: '#FF5A1F',
  blendMode: 'screen',
  effects: [
    { effect: 'bloom', params: { strength: 0.5, radius: 1.2 } }
  ]
}, {
  shapeType: 'rectangle'
});
2. Texture and Grain (Multiply Mode)
To give your video a tactile, "film" feel, you can overlay a grain or paper texture. Using blendMode: 'multiply' will keep the dark areas of the texture while letting the colors of the underlying video show through. This prevents the texture from looking like a grey film on top of your content.
3. Dynamic Contrast (Overlay & Soft-Light)
overlay and soft-light are the workhorses of cinematic color grading. They emphasize contrast by lightening light areas and darkening dark areas. If you have a background video that feels a bit flat, try adding a colored shape over it with blendMode: 'overlay' and a low opacity (e.g., 0.3) to "punch up" the colors programmatically.

Combining BlendModes with Transitions
One of the most powerful features of VideoFlow is that blend modes persist through transitions. When you use a blurResolve or fade transition, the layer maintains its blending math as it animates in. This is critical for maintaining visual consistency.
For example, a "Screen" layer fading in will look like a light turning on, whereas a standard "Normal" layer fading in will look like a solid object becoming opaque. The difference is subtle but vital for a professional feel.
Explore our transitions guide to see how different presets interact with composited layers.
How VideoFlow Handles Compositing
VideoFlow was designed to bridge the gap between the flexibility of the web and the rigour of professional video editing. This is reflected in how we handle compositing:
- Resolution Agnostic: Because VideoFlow uses em-based units (where
1em = 1% of project width), your composited layers will look identical whether you render at 720p for a preview or 4K for a final delivery. - Renderer Consistency: The
@videoflow/renderer-browser(using WebCodecs) and@videoflow/renderer-server(using headless Chromium) use the same rendering engine. This means the complex blend mode math you see in the Playground is exactly what you get in your exported MP4. - Agent-Friendly JSON: Since
blendModeis just a string property in the VideoFlow Core API, it is trivial for LLMs and AI agents to manipulate. You can prompt an agent to "make the text feel like a neon sign," and it can respond with the correct combination ofcolor,blendMode, andeffects.
Conclusion: Beyond the Flat Timeline
Programmatic video doesn't have to look clinical. By utilizing the 16 blend modes available in VideoFlow, you can move from simple layer stacking to true cinematic compositing. Whether you're building an internal tool or a customer-facing video product, these small details are what separate a script from a cinematic experience.
Ready to experiment with compositing? Head over to the VideoFlow Playground to try these patterns live in your browser, or check out the source on GitHub to see how the rendering engine handles these complex blend operations under the hood.
For a deeper dive into timing and flow, read our guide on Parallel and Wait to learn how to time your composited layers perfectly.