
Cinematic JSON: Mastering GLSL Effects in VideoFlow
September 19, 2026 · By VideoFlowLearn how to use VideoFlow's 42 built-in GLSL effects to turn raw data into cinematic MP4s. Master effect stacking, dot-path animations, and GPU-accelerated rendering.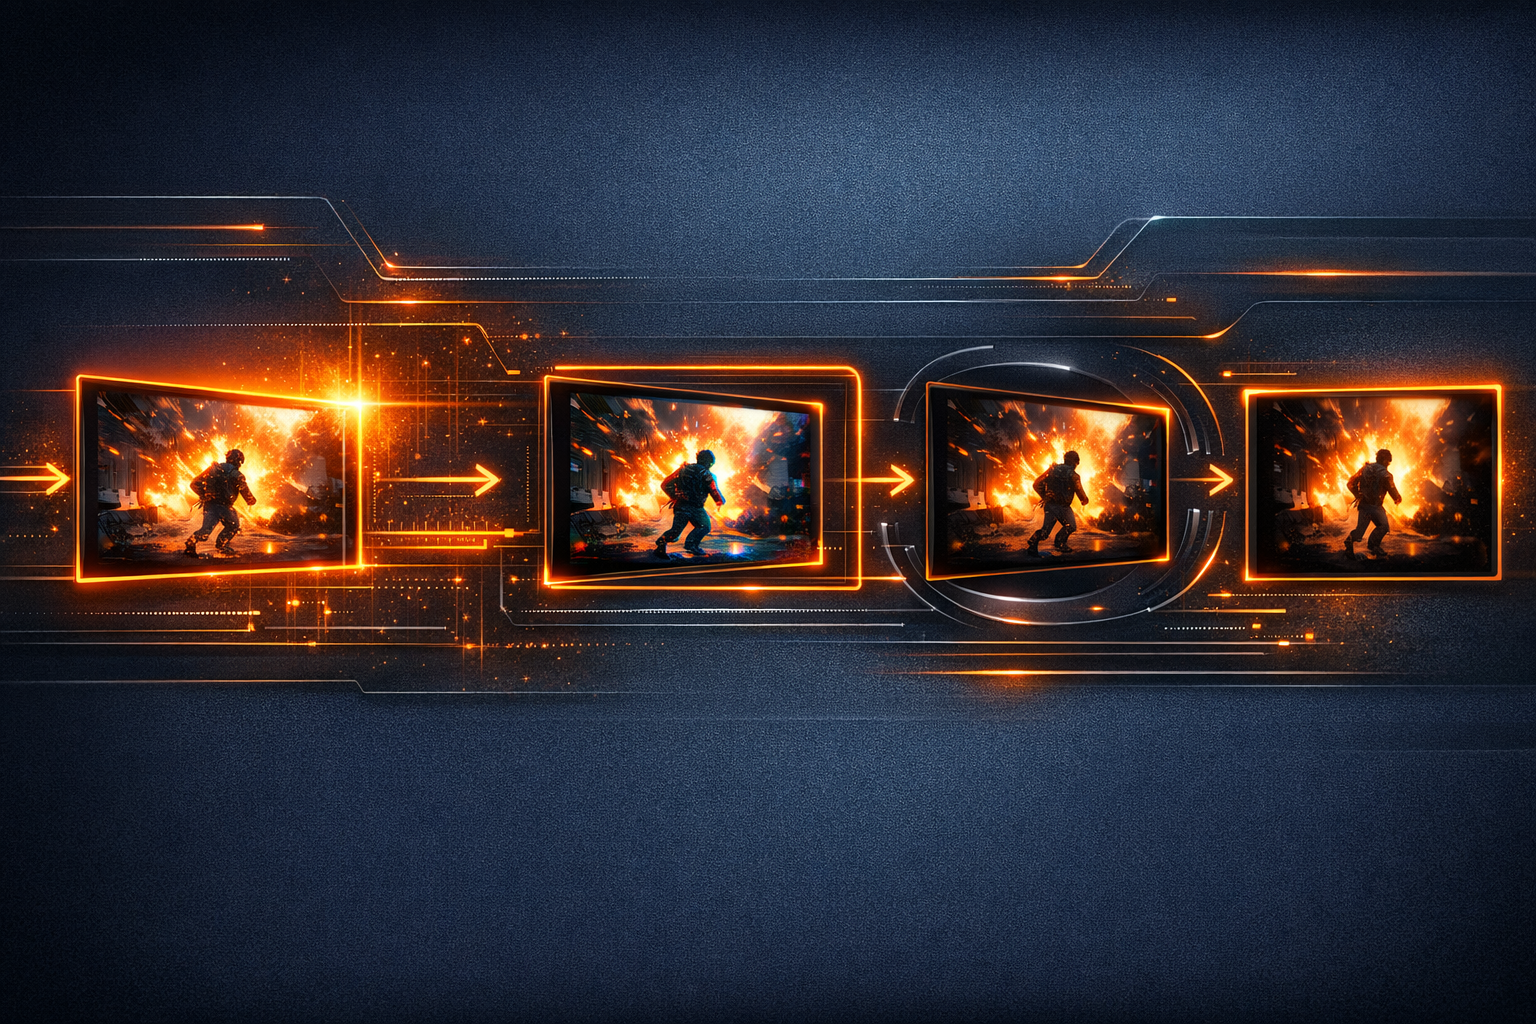
Cinematic JSON: Mastering GLSL Effects in VideoFlow
For a long time, programmatic video felt like a choice between two compromises. You could either use FFmpeg and wrestle with complex filter graphs to get a decent look, or you could use a high-level library that made timing easy but left your output looking like a basic PowerPoint presentation.
VideoFlow changes that. By treating video as a portable, version-controlled VideoJSON document, it allows developers to apply professional-grade GLSL effects directly to layers using a simple, typed API. In this guide, we’ll explore how to use the built-in effect stack to turn raw data into cinematic content.
The Power of the Effect Stack
In VideoFlow, effects aren't just an afterthought—they are a core part of the rendering pipeline. Every visual layer (text, image, video, shape) accepts an effects array in its properties. These effects are executed as WebGL shaders, meaning they run on the GPU for maximum performance.
Unlike traditional video editors where you might apply one filter at a time, VideoFlow uses a stack. Each effect in the array passes its output to the next. This allows you to compose complex looks by layering simple primitives like gaussianBlur, chromaticAberration, and bloom.
const layer = $.addImage(
  {
    fit: 'cover',
    effects: [
      { effect: 'vignette',            params: { intensity: 0.4, radius: 0.7 } },
      { effect: 'chromaticAberration', params: { amount: 0.002 } },
      { effect: 'bloom',               params: { intensity: 0.8 } },
    ],
  },
  { source: 'https://example.com/hero-shot.jpg' },
);
Animating Effects with Dot-Paths
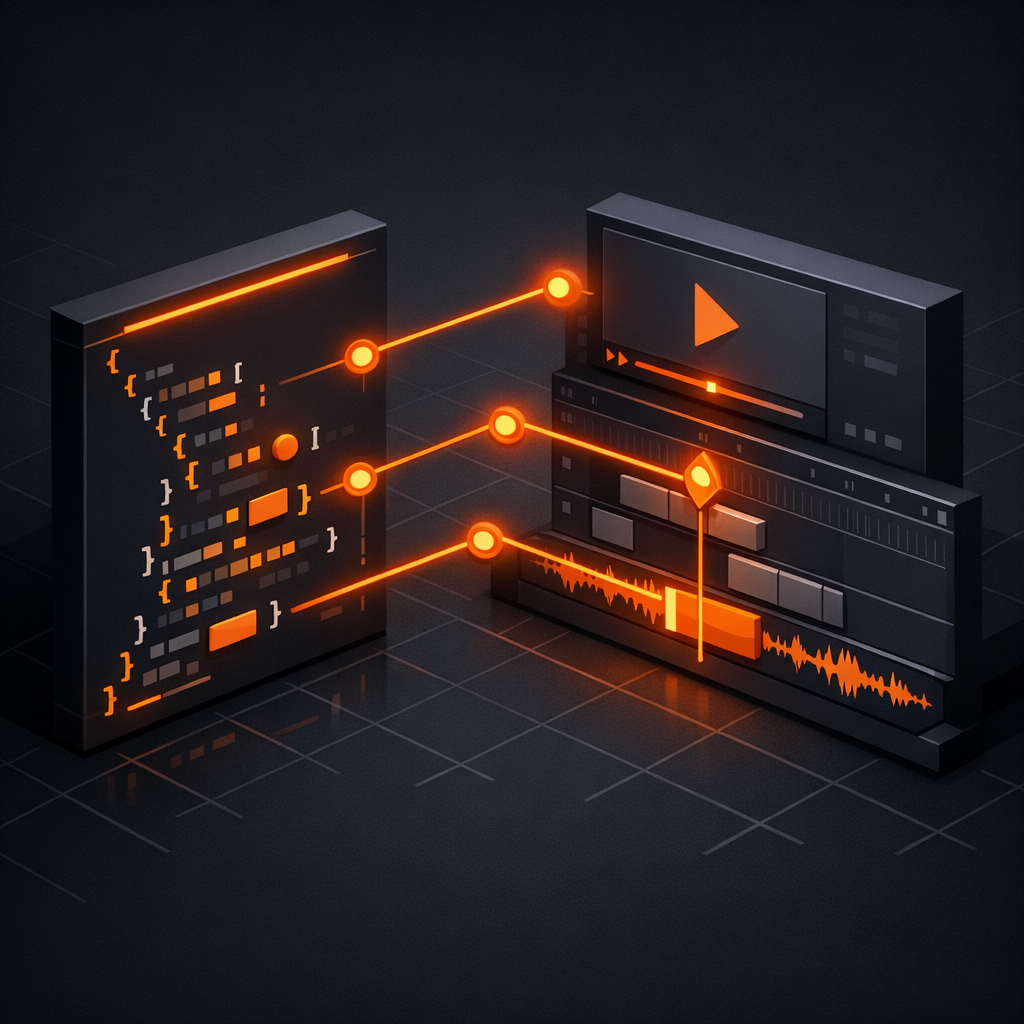
The real magic happens when you bring these effects to life. VideoFlow uses a "dot-path" syntax to address specific effect parameters during animation. If you want to animate the strength of a blur or the intensity of a bloom, you simply reference it as effects.<name>.<parameter>.
This is a massive departure from the imperative "frame-by-frame" math required in other toolkits. Because VideoFlow is built on a fluent builder API, you can define your motion in seconds:
// Start with a heavy blur and pixelation, then clear it up
const title = $.addText({
  text: 'CINEMATIC',
  fontSize: 8,
  effects: [
    { effect: 'pixelate', params: { pixelSize: 10 } },
    { effect: 'gaussianBlur', params: { radius: 2 } },
  ],
});

// Animate both effects simultaneously
title.animate(
  { 'effects.pixelate.pixelSize': 10, 'effects.gaussianBlur.radius': 2 },
  { 'effects.pixelate.pixelSize': 0.1, 'effects.gaussianBlur.radius': 0 },
  { duration: '1.5s', easing: 'easeOut' }
);
You can experiment with these animations live in the VideoFlow Playground, which provides instant feedback as you tweak your JSON.
Why GLSL Matters for Automation
When building automated video factories—like personalized SaaS recaps or automated social media posts—performance is everything. Because VideoFlow's effects are written in GLSL and rendered via WebGL, they are incredibly efficient.
Whether you are using @videoflow/renderer-browser to export an MP4 directly in the user's tab or running @videoflow/renderer-server in a headless Node.js environment, the output is byte-for-byte identical. This "three-renderer rule" ensures that the cinematic look you design in your browser is exactly what your users see in the final render.
Practical Example: The "Dreamy Reveal"
Let’s combine everything we’ve learned into a reusable pattern. This "Dreamy Reveal" uses a combination of bloom, vignette, and chromaticAberration to introduce a text element with a high-end, editorial feel.
import VideoFlow from '@videoflow/core';

const $ = new VideoFlow({ width: 1920, height: 1080, fps: 30 });

const text = $.addText({
  text: 'BEYOND CODE',
  fontSize: 10,
  color: '#FF5A1F',
  fontWeight: 700,
  effects: [
    { effect: 'bloom', params: { intensity: 0 } },
    { effect: 'chromaticAberration', params: { amount: 0.05 } },
  ],
});

// Animate the bloom in and the aberration out
text.animate(
  { 'effects.bloom.intensity': 0, 'effects.chromaticAberration.amount': 0.05, opacity: 0 },
  { 'effects.bloom.intensity': 1.2, 'effects.chromaticAberration.amount': 0, opacity: 1 },
  { duration: '1s', easing: 'easeOut' }
);

$.wait('2s');
text.fadeOut('500ms');

Building Your Own Pipeline
Mastering effects is the quickest way to elevate your programmatic video from "generated" to "produced." By leveraging the 42 built-in GLSL effects, you can build sophisticated visual identities that are entirely driven by code.
If you're coming from a React background and want a visual way to tune these parameters, check out our guide on building a 'Canva for Video' with the React Editor. It shows how to drop the <VideoEditor /> component into your app so your users can play with these effects themselves.
Ready to start building? Head over to the VideoFlow GitHub to explore the core renderer source, or dive into the Effects Guide for a full parameter reference.