
The GLSL Effects Playbook: Mastering Cinematic Visuals with Code
August 22, 2026 · By VideoFlowMaster VideoFlow's library of 42 GLSL effects. Learn how to stack, animate, and combine shaders like bloom, vhsDistortion, and chromaticAberration for cinematic programmatic video.
The GLSL Effects Playbook: Mastering Cinematic Visuals with Code
Programmatic video often suffers from a "clinical" look. When you generate thousands of MP4s from JSON, the result can feel flat, digital, and distinctly un-cinematic. While transitions handle the motion between scenes, the real soul of a video lives in the texture, light, and atmosphere of the frames themselves.
In this playbook, we’re diving into the 42 GLSL effects bundled with VideoFlow. We’ll look at how to stack them, how to animate their parameters with precision, and how to use them to turn raw data into high-production content.
The Anatomy of an Effect Stack
In VideoFlow, effects are not just filters; they are a first-class property of every visual layer. Unlike settings (which define what a layer is), effects live in the properties object. This means they are fully animatable and can be toggled or modified on the fly.
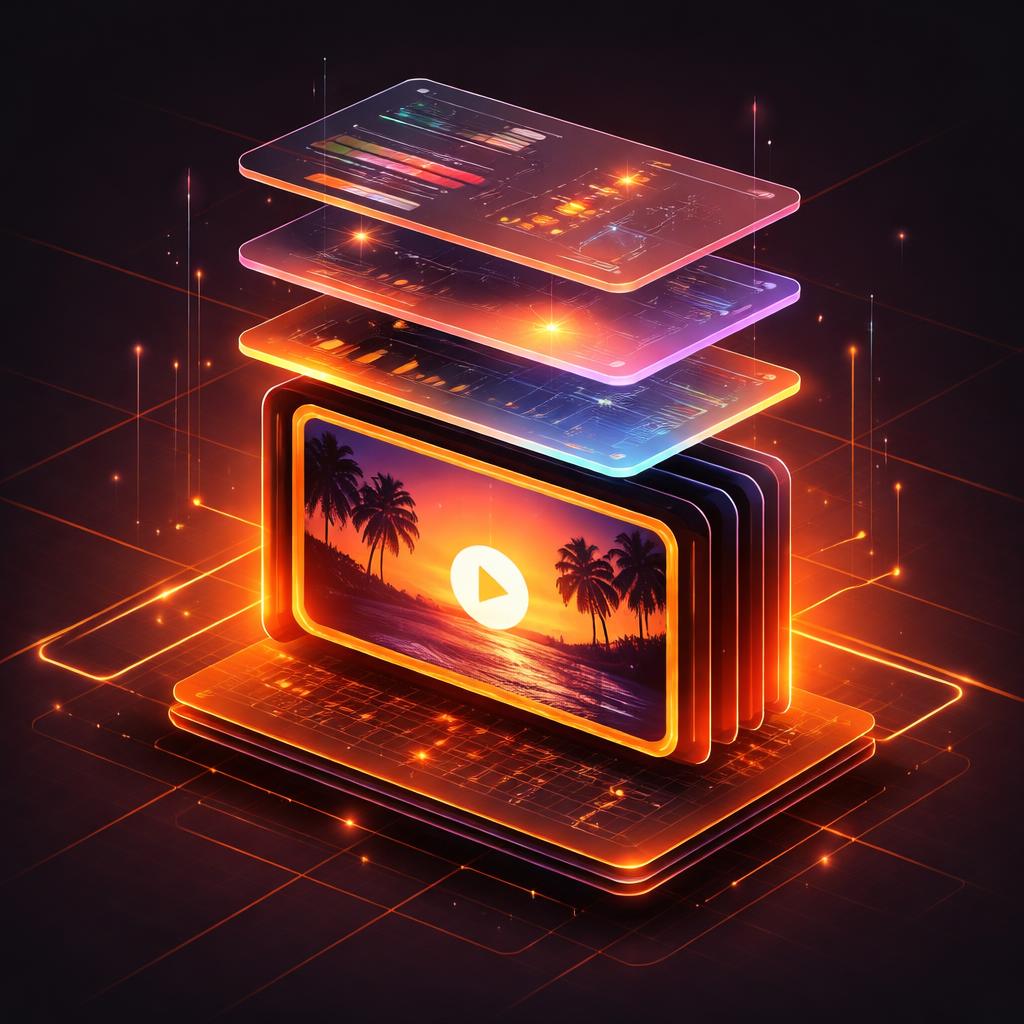
Every effect in the stack is processed in order. This allows you to build complex visual pipelines by layering simple primitives. For example, applying a gaussianBlur before a glow produces a soft, diffused bloom that feels organic rather than artificial.
const hero = $.addImage(
  {
    fit: 'cover',
    effects: [
      { effect: 'gaussianBlur', params: { radius: 0.5 } },
      { effect: 'glow',         params: { strength: 0.8, radius: 20 } },
      { effect: 'vignette',     params: { strength: 0.4 } },
    ],
  },
  { source: 'https://images.videoflow.dev/city-night.jpg' }
);
Animating the Intangible
Static effects are useful, but dynamic effects are where the magic happens. Because the effects array lives in the layer's properties, you can use the .animate() method to transition effect parameters over time.
Want to simulate a camera lens focusing? Animate the radius of a gaussianBlur. Want to create a sense of mounting tension? Gradually increase the strength of a chromaticAberration or vhsDistortion effect.

One of the most powerful patterns in the VideoFlow core API is the ability to target these parameters using dot-path keys. This keeps your code clean while giving you frame-perfect control over the GLSL pipeline.
// Simulate a glitchy tech reveal
const logo = $.addImage({ opacity: 0 }, { source: '/logo.png' });

logo.fadeIn('500ms');
logo.animate(
  { 'effects.0.params.amount': 0 },
  { 'effects.0.params.amount': 0.05 },
  { duration: '1s', easing: 'easeOut', wait: false }
);
Professional Recipes for Programmatic Video
To help you get started, here are three "recipes" we use internally to elevate the look of automated content:
1. The "Dreamy SaaS" Look
Combine bloom with a subtle vignette. This is perfect for product walkthroughs or dashboard recaps where you want the UI to feel premium and polished.
2. The "Retro-Future" Aesthetic
Stack vhsDistortion, crtScanlines, and rgbSplit. This is a favorite for developer-focused content or "hacker" themed social clips. It masks lower-resolution assets and adds instant character.
3. The "High-Speed Motion" Blur
Don't just move objects; give them weight. Apply motionBlur or zoomBlur during fast position or scale transitions. It mimics the shutter of a real camera, making the motion feel smoother to the human eye.
How VideoFlow Handles the Heavy Lifting
Under the hood, VideoFlow’s three official renderers handle these effects using native GLSL shaders. Whether you are exporting an MP4 in the browser via @videoflow/renderer-browser or running a headless batch job on a server with @videoflow/renderer-server, the output is byte-for-byte identical.
By leveraging WebGL and WebCodecs, VideoFlow bypasses the overhead of traditional CPU-bound video processing. This allows you to stack dozens of effects without sacrificing render speed—crucial for scale-out automation where cost-per-minute is a key metric.
Get Started with Effects
The best way to master the effects library is to see them in action. Head over to the VideoFlow Playground to experiment with the full 42-effect catalogue in real-time.
For a complete list of parameters and defaults, check out our comprehensive effects guide or see how they compare to motion-only presets in our transition catalogue. If you're building a custom video pipeline, don't forget to star the project on GitHub to stay updated on new shader releases.