
How to Embed a Multi-Track Video Editor in Your React App in 15 Lines
August 22, 2026 · By VideoFlowLearn how to drop a professional, multi-track React video editor into your SaaS app using VideoFlow. Save months of dev time with a battle-tested timeline UI.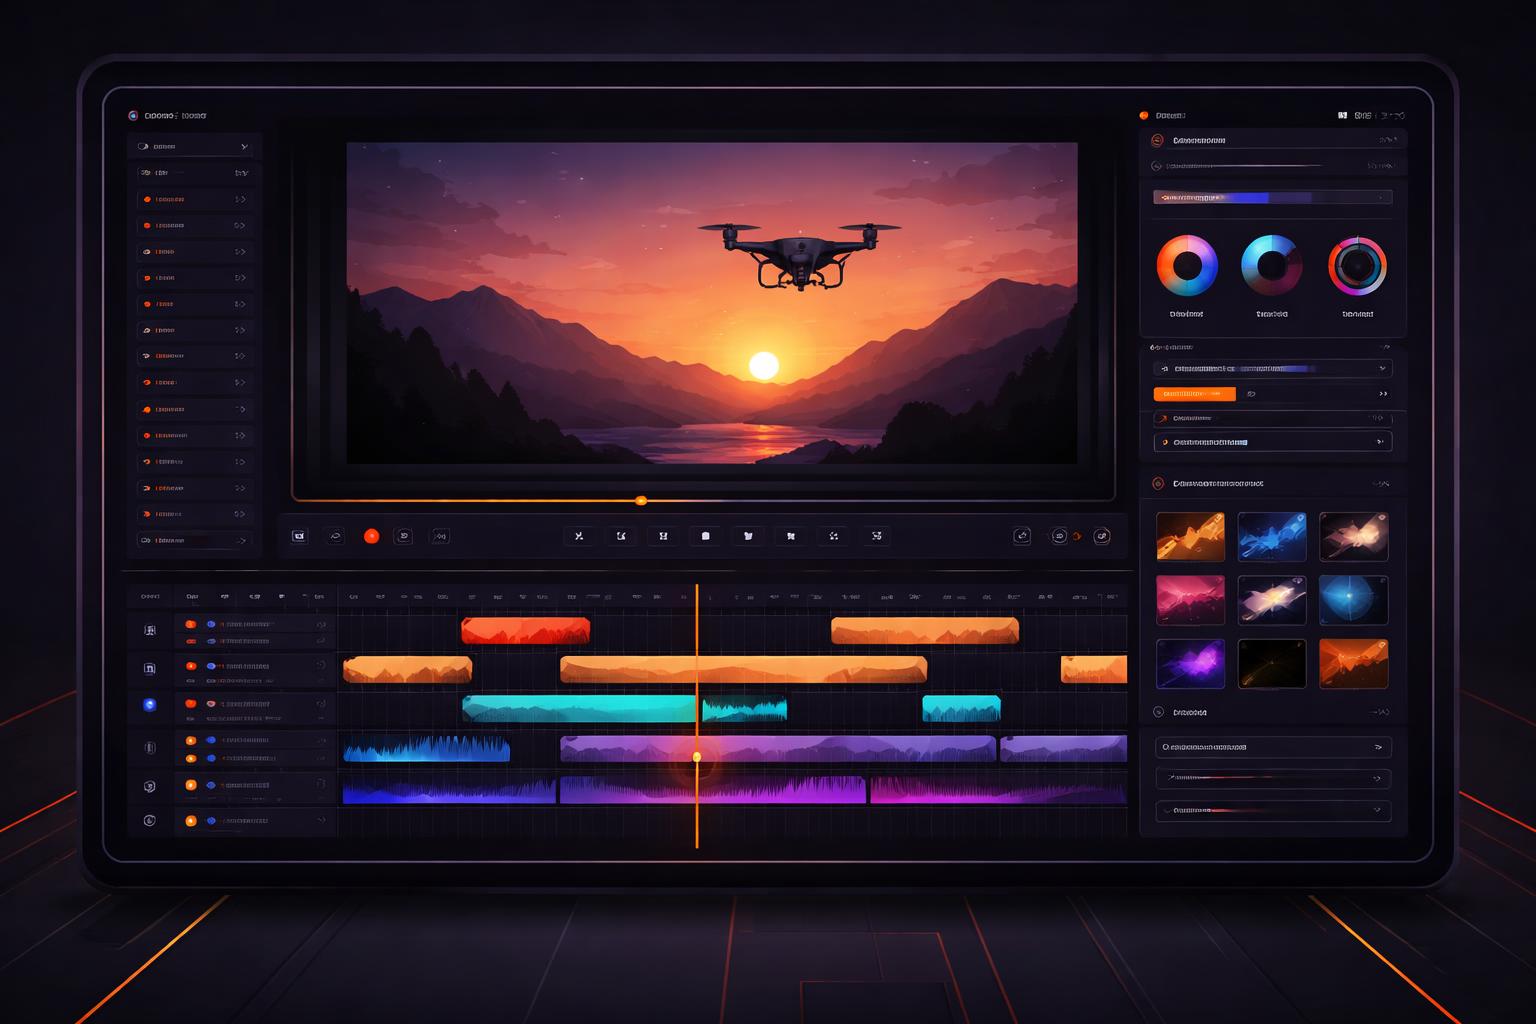
How to Embed a Multi-Track Video Editor in Your React App in 15 Lines
Building a video editor from scratch is a engineering nightmare. Between managing multi-track timelines, frame-accurate previews, undo/redo stacks, and asset management, most teams spend months just getting a basic MVP off the ground. If you are building a SaaS for content automation or a marketing tool, your users expect a professional editing experience, but you probably don't have a quarter to burn on timeline logic.
This is where the React video editor from VideoFlow changes the equation. By treating video as a portable JSON document, we've been able to wrap a fully-featured, professional-grade editor into a single React component that you can drop into your app in minutes.
The Complexity of Timeline Logic
Most developers starting a video-tooling project underestimate the state management required for a timeline. You aren't just moving blocks around; you're managing temporal relationships, handling media trimming, coordinating keyframe interpolation, and ensuring that what the user sees in the preview is exactly what will be rendered in the final MP4.
When you use the @videoflow/react-video-editor package, you aren't just getting a UI. You are getting a battle-tested state engine that understands the VideoFlow Core Concepts. It handles the heavy lifting of translating user interactions—like dragging a layer or adjusting a blur effect—into a valid VideoJSON document.

Embedding the Editor in 15 Lines
To get started, you simply need the @videoflow/core and @videoflow/react-video-editor packages. The editor is designed to be a controlled component: you pass it a video state, and it gives you back a new state whenever a change occurs.
import { useState } from 'react';
import { VideoEditor } from '@videoflow/react-video-editor';
import '@videoflow/react-video-editor/style.css';

const initialVideo = {
  name: 'My SaaS Project',
  width: 1920, height: 1080, fps: 30, duration: 10,
  layers: [],
};

export default function EditorPage() {
  const [video, setVideo] = useState(initialVideo);

  return (
    <section style={{ height: '100vh' }}>
      <VideoEditor
        video={video}
        onChange={setVideo}
        onSave={(v) => console.log('Saved to DB:', v)}
        theme="night"
      />
    </section>
  );
}
In less than 20 lines of code, you have a multi-track editor with a live preview, property inspector, and keyframe support. This is a massive shortcut for teams who might have previously considered proprietary APIs or complex migration from Remotion.
Beyond the Basics: Theming and Customization
A "one-size-fits-all" editor rarely fits a custom SaaS brand. The VideoFlow editor supports four distinct themes (light, grey, dark, and night) and allows you to swap out entire panels.
If you need a custom titlebar or a specialized sidebar for your users to pick from a library of pre-approved assets, you can pass those in through the components prop. This allows the editor to feel like a native part of your product rather than a third-party iframe.

How VideoFlow Handles the Render Pipeline
The real power of the React Video Editor is its integration with the wider VideoFlow ecosystem. Because the editor emits standard VideoJSON, the same project can be rendered in three different ways without changing a single line of logic:
- Live Preview: The editor uses the
@videoflow/renderer-domfor frame-accurate, 60fps scrubbing while the user is editing. - In-Browser Export: When the user hits "Export", the editor can use
@videoflow/renderer-browserto generate an MP4 directly in their browser tab using WebCodecs—saving you massive server costs. - Headless Server Rendering: For batch jobs or heavy compositions, you can send that same JSON to a Node.js worker running
@videoflow/renderer-server.
This "three-renderer" approach ensures that your application is scalable from day one. You can start with client-side exports and move to a server-side pipeline as your volume grows, all while using the same editor UI.
Conclusion: Stop Building Timelines, Start Building Features
Your value proposition is likely the unique way you help users create content, not the specific implementation of a playhead or a layer list. By leveraging a professional React video editor component, you can focus on your core features while providing a world-class editing experience.
Ready to see it in action? Head over to the VideoFlow Playground to try the editor in your browser, or dive into the Editor Quickstart Guide to start your integration.
If you find the project helpful, consider starring the repo on GitHub to support open-source video tooling.