
How to Embed a Full-Featured Video Editor in Your React App
October 3, 2026 · By VideoFlowLearn how to drop a professional, multi-track video timeline editor into your React application in minutes using VideoFlow's dual-licensed editor component.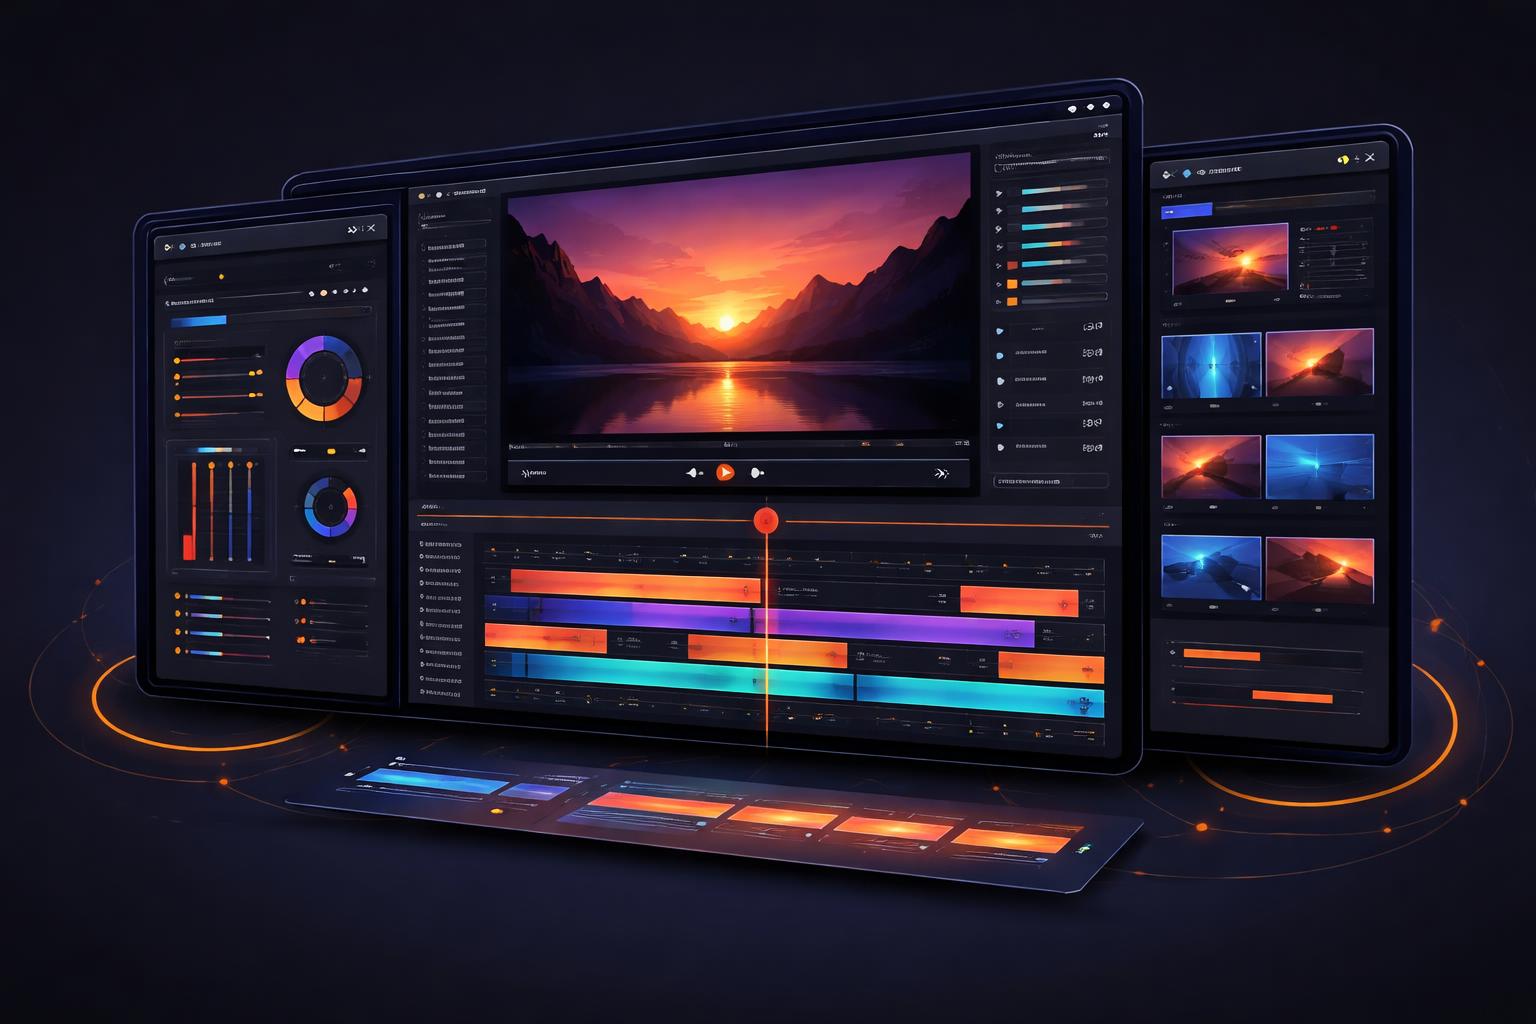
How to Embed a Full-Featured Video Editor in Your React App
Building a video editor from scratch is a multi-month engineering undertaking. You have to handle multi-track timeline logic, frame-accurate synchronization, asset management, property keyframing, and the complex orchestration of hardware-accelerated rendering. For most SaaS teams, this is a distraction from their core product.
But what if you could drop a professional, battle-tested video editor into your React app in less than ten lines of code?
With @videoflow/react-video-editor, you can. This component provides a complete UI—timeline, preview, inspector, and export modal—powered by the Apache-2.0 VideoFlow core. Whether you are building an automated content factory or a personalized video platform, embedding a high-fidelity editor has never been easier.
The Drop-in Solution
The @videoflow/react-video-editor package is designed to be the "Stripe Checkout" of video editing. It doesn't just give you a canvas; it gives you a full workspace that your users will find immediately familiar. It is built on top of the DOM Renderer, which ensures that what your users see during the editing process is pixel-perfect to the final exported MP4.
To get started, you simply need to install the package and its peer dependencies:
npm install @videoflow/core @videoflow/react-video-editor
A Minimal Implementation
Here is how you can mount a fully functional editor in a React component. The editor is "controlled" by a VideoJSON object—a portable, structured representation of your video project.
import { useState } from 'react';
import { VideoEditor } from '@videoflow/react-video-editor';
import '@videoflow/react-video-editor/style.css';

const initialVideo = {
  name: 'New Project',
  width: 1920,
  height: 1080,
  fps: 30,
  duration: 10,
  layers: [],
};

export default function MyEditor() {
  const [video, setVideo] = useState(initialVideo);

  return (
    <div style={{ height: '100vh' }}>
      <VideoEditor
        video={video}
        onChange={(next) => setVideo(next)}
        onSave={(updated) => console.log('Saving to DB:', updated)}
        theme="dark"
      />
    </div>
  );
}
In this snippet, the VideoEditor handles all the internal state of the timeline. Every time a user drags a layer, trims a clip, or changes a text color, the onChange callback fires with a fresh, valid VideoJSON document.
Customizing the Experience
One of the biggest advantages of VideoFlow's editor is its flexibility. It isn't a black box; you can style it to match your application's brand and configure how it handles asset uploads.
Theming and Brand Overrides
The editor ships with four built-in themes: light, grey, dark, and night. You can switch between them with a single prop, or go further by overriding specific CSS variables. This ensures the editor feels like a native part of your UI rather than a third-party embed.

<VideoEditor
  theme="night"
  style={{
    '--vf-primary': '#FF5A1F', // VideoFlow Orange
    '--vf-accent': '#ec4899',
    '--vf-radius': '8px',
  }}
/>
You can explore these themes live in the VideoFlow Playground.
Handling Uploads
When a user drags an image or video onto the timeline, the editor needs to know where to store that file. By providing an onUpload handler, you can hook the editor directly into your S3 bucket, Cloudinary, or internal API.
<VideoEditor
  onUpload={async (file) => {
    const url = await myUploadService.upload(file);
    return url; // The editor will use this URL as the layer source
  }}
/>
Seamless Export Pipelines
The ultimate goal of any video editor is to produce a file. VideoFlow simplifies this by bundling an export modal that uses the Browser Renderer to generate MP4s directly in the user's browser via WebCodecs. This means you can offer high-quality video exports with zero server cost.

When the user hits the "Export" button, the editor renders the project and hands you the resulting Blob:
<VideoEditor
  onExportComplete={(blob) => {
    // Upload the final MP4 to your server or trigger a download
    const url = URL.createObjectURL(blob);
    const a = document.createElement('a');
    a.href = url;
    a.download = 'my-video.mp4';
    a.click();
  }}
/>
If you prefer to handle rendering on the server—perhaps for long-form content or batch processing—you can take the VideoJSON from onSave and pass it to the @videoflow/renderer-server in a Node.js environment. To learn more about headless rendering, check out our guide on how to render MP4s in Node.js without FFmpeg.
Why VideoFlow?
Unlike other solutions that tie you to a proprietary React runtime, VideoFlow is built on a portable JSON schema. This means the videos created in your embedded editor are not just React components—they are data. You can store them in a database, diff them in version control, and render them anywhere.
Compared to alternatives like Remotion, VideoFlow offers a more permissive Apache-2.0 license for its core and renderers. The React Video Editor itself is dual-licensed: it is free for individuals, non-profits, and small teams (up to 3 employees), making it the most accessible professional-grade editor for the open-source community.
Get Started Today
You don't need to be a video engineering expert to build a world-class video product. By leveraging the @videoflow/react-video-editor, you can focus on your unique features while we handle the timeline, the keyframes, and the render loop.
- Try it now: Head over to the Playground to see the editor in action.
- Read the docs: Check out the Editor Quickstart for a deep dive into custom panels and hooks.
- Star us on GitHub: Join the community at github.com/ybouane/VideoFlow.
If you're still deciding on the right stack for your project, our VideoFlow vs. Remotion comparison provides a detailed look at why portable JSON is the future of programmatic video.