
From Markdown to MP4: Automate Your Documentation Video Pipeline
July 8, 2026 · By VideoFlowLearn how to build an automated documentation-to-video pipeline using Markdown and VideoFlow. Turn static docs into engaging video explainers without manual editing.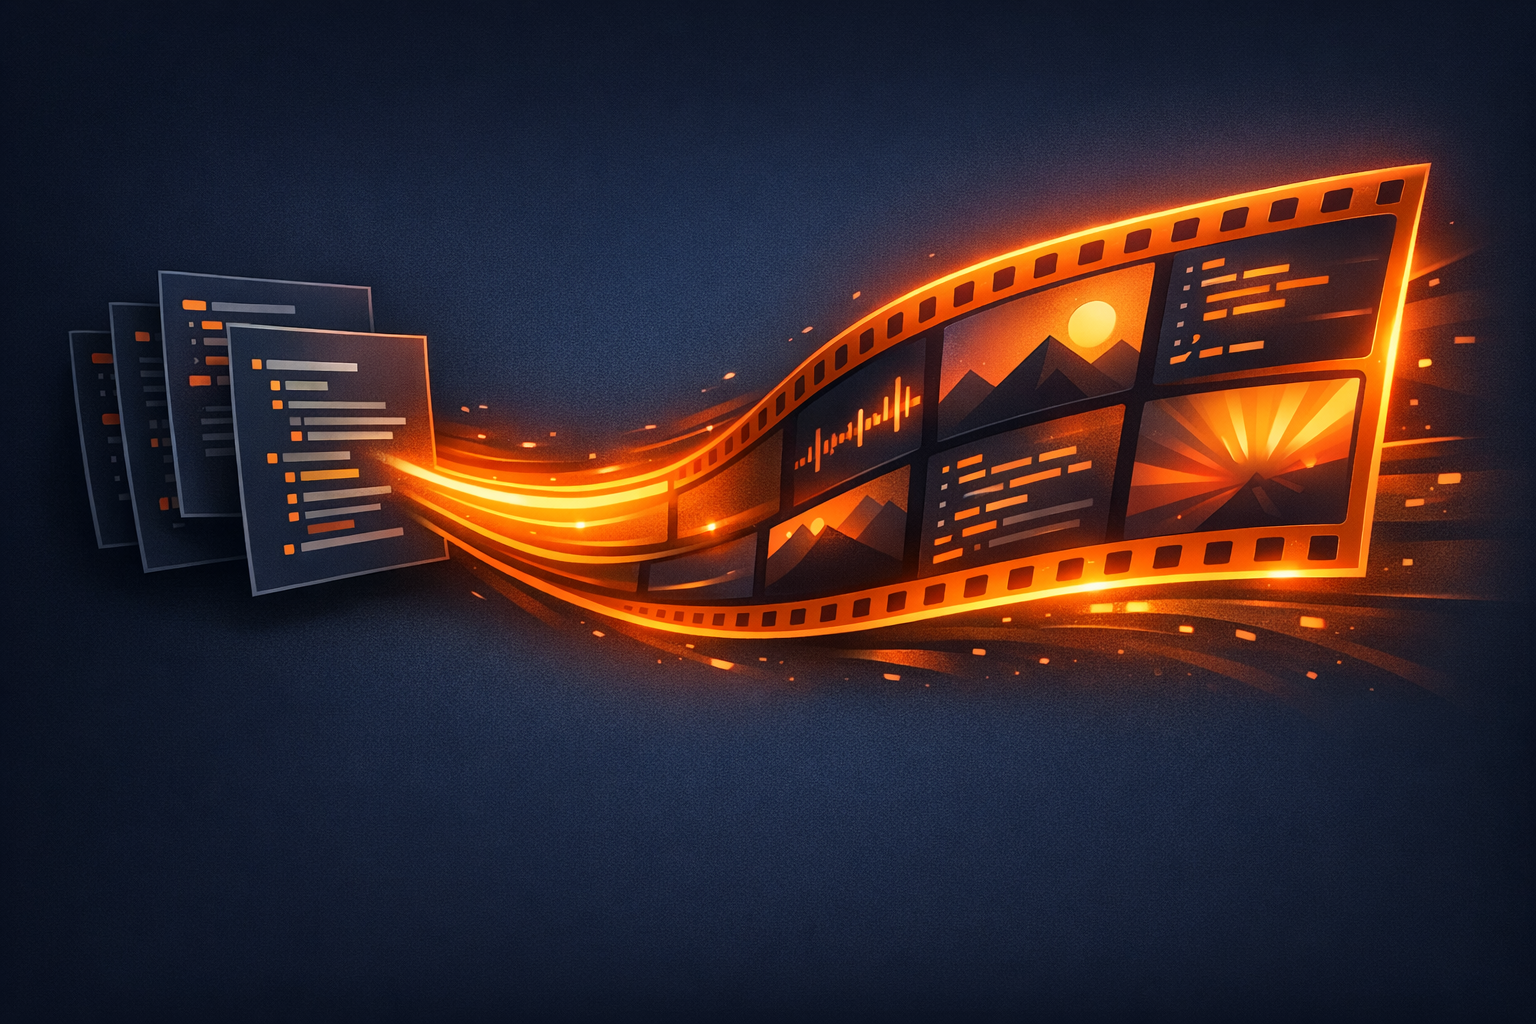
From Markdown to MP4: Automate Your Documentation Video Pipeline
Static documentation is great for reference, but when it comes to onboarding and feature announcements, video is king. Yet, keeping documentation videos in sync with a fast-moving codebase is a maintenance nightmare. Every UI change or feature update requires a manual re-record, a re-edit, and a re-export.
What if your documentation was your video? By building an automated documentation-to-video pipeline, you can treat your video assets just like your code: version-controlled, diffable, and automatically generated on every commit.
In this tutorial, we’ll explore how to use VideoFlow to turn structured Markdown into high-quality MP4 explainers using nothing but TypeScript.
The Problem with Manual Video Editing
Traditional video editing (After Effects, Premiere, or ScreenFlow) is a linear, destructive process. If you change a single heading in your docs, you have to open a heavy project file, move keyframes, and wait for a manual export. This friction leads to outdated videos that confuse users more than they help.
By moving to a code-first approach, we can leverage the same principles we use for static site generators. We parse a source file (Markdown), map it to a set of visual primitives, and render the output. This is where the VideoFlow Core builder API shines.
Designing the Pipeline
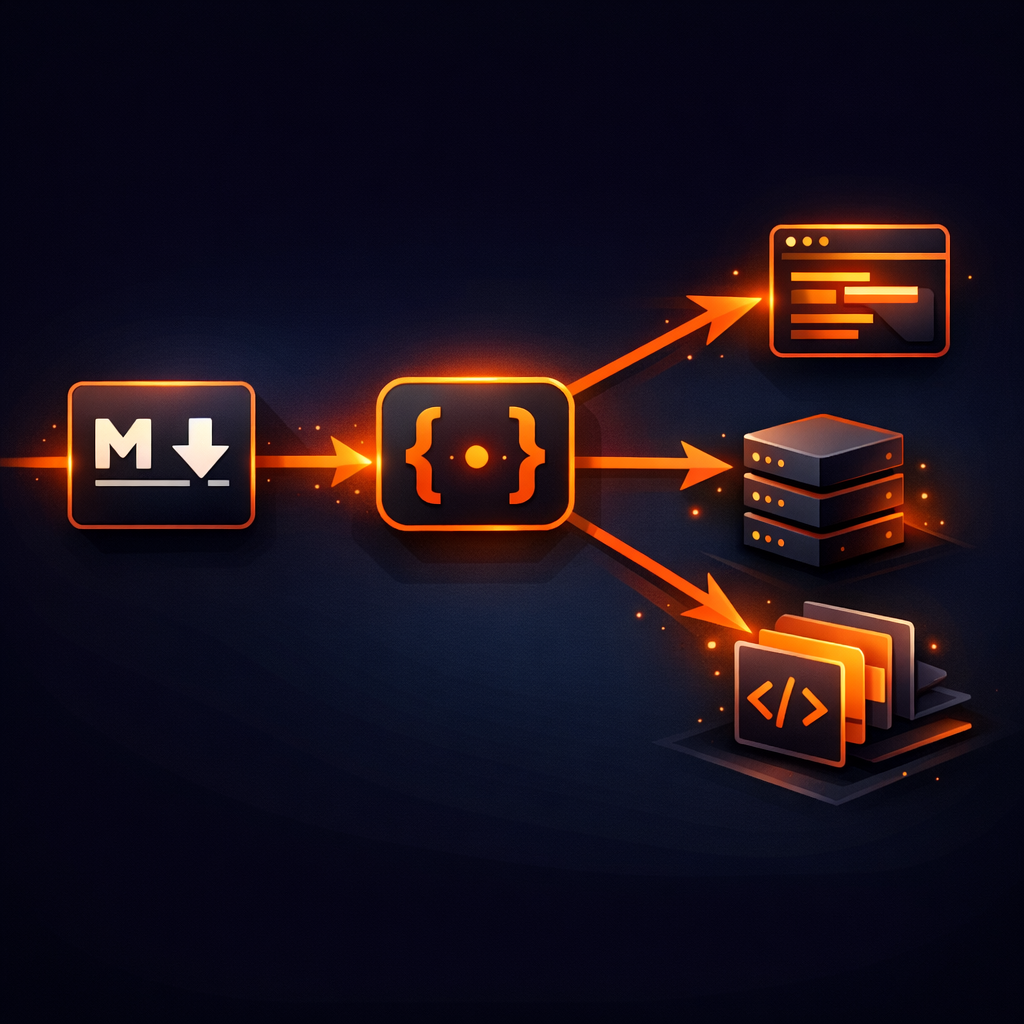
Our pipeline follows three simple steps:
- Parse: Read a Markdown file and extract headings, paragraphs, and code blocks.
- Map: Convert those elements into VideoFlow layers (Text, Code, Shapes).
- Render: Use a VideoFlow renderer to produce the final MP4.
Because VideoFlow represents scenes as portable VideoJSON, your pipeline isn't tied to a specific environment. You can preview the video in a React dashboard using the DOM renderer and then export the final file in a headless GitHub Action using the server renderer.
Step 1: Mapping Markdown to VideoFlow Layers
Let’s look at a simplified builder script that takes a list of "slides" derived from Markdown and turns them into a cinematic sequence. We'll use the @videoflow/core package to construct our timeline.
import VideoFlow from '@videoflow/core';

const $ = new VideoFlow({ width: 1920, height: 1080, fps: 30 });

async function createDocVideo(slides) {
  for (const slide of slides) {
    // 1. Add a background shape with a subtle glow
    const bg = $.addShape(
      {
        width: 100, height: 100,
        fill: '#0f172a',
        effects: [{ effect: 'bloom', params: { strength: 0.2 } }]
      },
      { shapeType: 'rectangle' }
    );

    // 2. Add the title with a 'blurResolve' transition
    const title = $.addText(
      {
        text: slide.title,
        fontSize: 8,
        color: '#FF5A1F', // VideoFlow Orange
        fontWeight: 700,
        position: [0.5, 0.4]
      },
      { transitionIn: { transition: 'blurResolve', duration: '800ms' } }
    );

    // 3. Add the body text
    const body = $.addText(
      {
        text: slide.content,
        fontSize: 4,
        color: '#cbd5e1',
        position: [0.5, 0.6]
      },
      { transitionIn: { transition: 'fade', duration: '500ms', wait: false } }
    );

    // Hold the slide for 3 seconds
    $.wait('3s');

    // 4. Clean up for the next slide
    title.fadeOut('500ms');
    body.fadeOut('500ms', 'easeOut', false);
    $.wait('500ms');
    bg.remove();
  }

  return await $.compile();
}
Step 2: Adding Cinematic Polish
One of the biggest advantages of VideoFlow over raw FFmpeg scripts is the built-in library of transitions and effects. You don't have to write complex GLSL math to get a professional look.
In the example above, we used blurResolve for the title. We could also add a vhsDistortion effect to a code block layer to give it a technical aesthetic, or use lightSweepReveal to draw attention to a specific feature name.
Because every property in VideoFlow is animatable, you can create dynamic camera-like movements by animating the scale and position of a GroupLayer containing your entire slide content.
Step 3: Headless Rendering
Once your script produces a VideoJSON document, you can render it anywhere. For an automated pipeline, the @videoflow/renderer-server is the perfect fit. It runs in Node.js and uses a headless browser to ensure that what you saw in your local Playground is exactly what ends up in the MP4.
import '@videoflow/renderer-server';

const json = await createDocVideo(myParsedMarkdown);

// Render to a file in a single call
await $.renderVideo({
  outputType: 'file',
  output: './docs-explainer.mp4',
  verbose: true
});
This setup is ideal for CI/CD. When a developer merges a PR that updates the docs/ folder, your pipeline triggers, generates the new VideoJSON, renders the MP4, and uploads it to your S3 bucket or documentation site.
Why VideoFlow for Documentation?
While tools like Remotion are popular for React-based video, VideoFlow offers a more portable, license-friendly alternative for engineering teams. The core and all official renderers are Apache-2.0, meaning you can integrate them into your internal tools or commercial SaaS without friction.
Furthermore, because VideoFlow uses a JSON-based intermediate format, your documentation-to-video logic doesn't even have to be in TypeScript. You could write a Python script to parse your docs and emit the JSON, and then use the VideoFlow CLI or Node package to handle the heavy lifting of rendering.
Get Started with Automated Video
Automating your documentation videos isn't just about saving time—it's about ensuring your users always have access to the most accurate, up-to-date visual guides.
Ready to build your own pipeline?
- Explore the VideoFlow Documentation for a deep dive into the builder API.
- Try out different transition presets in the interactive Playground.
- Check out the source code on GitHub to see how the renderers work under the hood.
By treating video as data, you unlock a level of automation that makes high-quality content production a standard part of your development workflow.