
Cinematic GLSL: Stacking Effects for a Retro VHS Look in VideoFlow
July 8, 2026 · By VideoFlowLearn how to use VideoFlow's Cinematic GLSL stack to create a professional retro VHS look by layering and animating built-in effect presets.
Cinematic GLSL: Stacking Effects for a Retro VHS Look in VideoFlow
Reproducing the tactile, imperfect aesthetic of the 80s and 90s is a staple of modern creative direction. Whether you're building a lo-fi music visualizer, a nostalgic SaaS recap, or an automated social media engine, the "VHS look" is instantly recognizable. But traditionally, achieving this programmatically meant chaining complex FFmpeg shell scripts or relying on heavy external video editors.
With VideoFlow, you can compose these cinematic looks directly in TypeScript. By leveraging the built-in Cinematic GLSL effect stack, you can layer, animate, and tweak filters in real-time. In this guide, we'll look at how to stack effects to create a convincing retro VHS aesthetic without leaving your code editor.
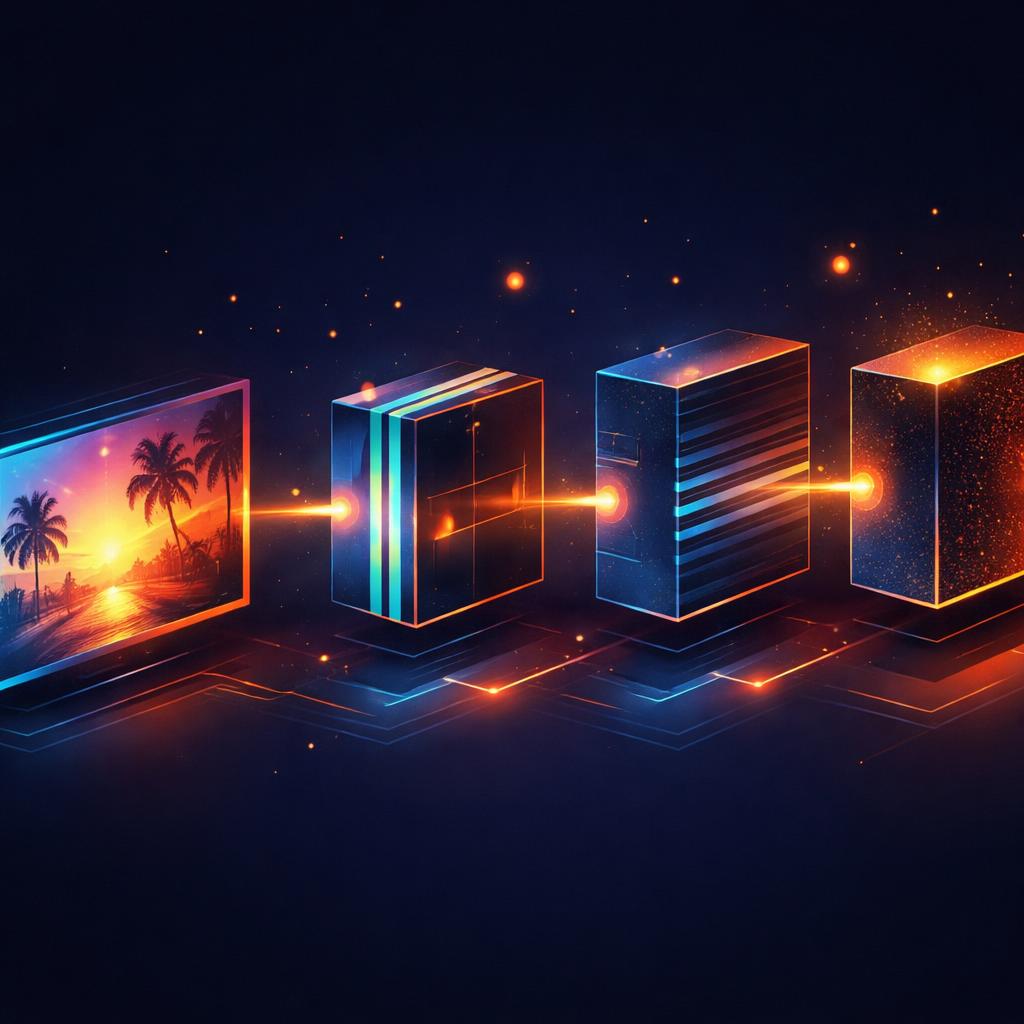
The Anatomy of a VHS Look
A true VHS aesthetic isn't just one filter; it's a combination of several visual degradations that occur in analog tape. To recreate this in VideoFlow, we need to address four key elements:
- Chromatic Aberration: The slight misalignment of color channels (RGB split).
- Scanlines: The horizontal lines caused by the cathode-ray tube display.
- Noise and Grain: The random flickering and texture of the tape.
- Distortion: The vertical jitter and "tracking" errors.
VideoFlow's effects architecture is designed specifically for this kind of layering. Every visual layer—whether it's text, an image, or a video—accepts an effects array in its properties. These effects are executed in order, allowing the output of one filter to become the input of the next.
Stacking Effects in VideoFlow
Let's build a VHS stack. We'll start with a base video layer and apply a series of presets. Notice how we use the vhsDistortion, chromaticAberration, and crtScanlines presets directly from the library.
import VideoFlow from '@videoflow/core';

const $ = new VideoFlow({ width: 1920, height: 1080, fps: 30 });

const vhsLayer = $.addVideo(
  {
    fit: 'cover',
    effects: [
      // 1. Add the base color correction for that slightly washed-out look
      { effect: 'colorCorrection', params: { saturation: 0.8, contrast: 1.1 } },

      // 2. Add the iconic RGB split
      { effect: 'chromaticAberration', params: { amount: 0.005 } },

      // 3. Apply the CRT scanlines
      { effect: 'crtScanlines', params: { intensity: 0.3, count: 540 } },

      // 4. The final 'VHS' tracking and jitter
      { effect: 'vhsDistortion', params: { intensity: 0.4 } },

      // 5. Add some film grain for texture
      { effect: 'filmGrain', params: { amount: 0.15 } }
    ]
  },
  { source: 'https://example.com/footage.mp4' }
);

$.wait('5s');
const json = await $.compile();
By stacking these specific presets, we've created a complex visual pipeline in just a few lines of code. Because VideoFlow uses a portable JSON format, this look will render identically in the browser via @videoflow/renderer-browser and on the server via @videoflow/renderer-server.
Making it Dynamic: Animating the Glitch
Static effects are great, but the real magic of VHS comes from the instability. We can use VideoFlow's animation and keyframes system to make the distortion spike at specific moments, simulating a tracking error or a tape glitch.
Instead of just setting a fixed intensity, we can animate the dot-path key of the effect parameter:
// Simulate a tracking glitch at the 2-second mark
$.wait('2s');

// Spike the distortion intensity over 200ms
vhsLayer.animate(
  { 'effects.3.params.intensity': 0.4 },
  { 'effects.3.params.intensity': 0.9 },
  { duration: '200ms', easing: 'easeOut' }
);

// Quickly settle back to normal
vhsLayer.animate(
  { 'effects.3.params.intensity': 0.9 },
  { 'effects.3.params.intensity': 0.4 },
  { duration: '300ms', easing: 'easeIn' }
);
This level of control is what separates VideoFlow from traditional "filter-based" tools. You aren't just applying a look; you're orchestrating the visual behavior of your video as data.
Why Your Video Pipeline Should Be Diffable
When you build videos with code, your creative decisions become part of your version control. If you decide the VHS look is too heavy, you don't need to re-open a project file in After Effects. You simply update the params in your JSON or TypeScript file. This approach is significantly more maintainable than managing raw FFmpeg commands or proprietary binary project files.
As we've explored in our previous post on beyond opacity and blendModes, the ability to treat visual layers as composable objects opens up entirely new workflows for automated content creation.
How VideoFlow Handles the Heavy Lifting
Under the hood, VideoFlow's renderers handle the complex WebGL state management required to stack these effects efficiently. Whether you're exporting an MP4 in the user's browser or running a batch job on a headless server, the three official renderers ensure that your GLSL shaders are compiled and executed with frame-perfect accuracy.
VideoFlow ships with 42 GLSL effects and 27 transition presets out of the box, giving you a massive library of cinematic primitives to build upon. And because the core is Apache-2.0, you can embed this power into your own products without licensing headaches.
Get Started with Cinematic Effects
Ready to build your own cinematic pipelines? Here is how to dive in:
- Experiment: Head over to the VideoFlow Playground to try out the effects stack live in your browser.
- Read the Docs: Check out our comprehensive effects guide for a full list of parameters and presets.
- Contribute: VideoFlow is open-source. Join us on GitHub to report issues, suggest new effects, or help us build the future of video-as-code.
Stop fighting with shell scripts and start composing. Your next cinematic masterpiece is just a $.compile() away.