Programmatic Motion Graphics: Recreating After Effects Lower Thirds with Code
May 21, 2026 · By VideoFlowLearn how to build professional lower thirds using programmatic motion graphics. Use TypeScript and VideoFlow to automate cinematic visuals for your video pipeline.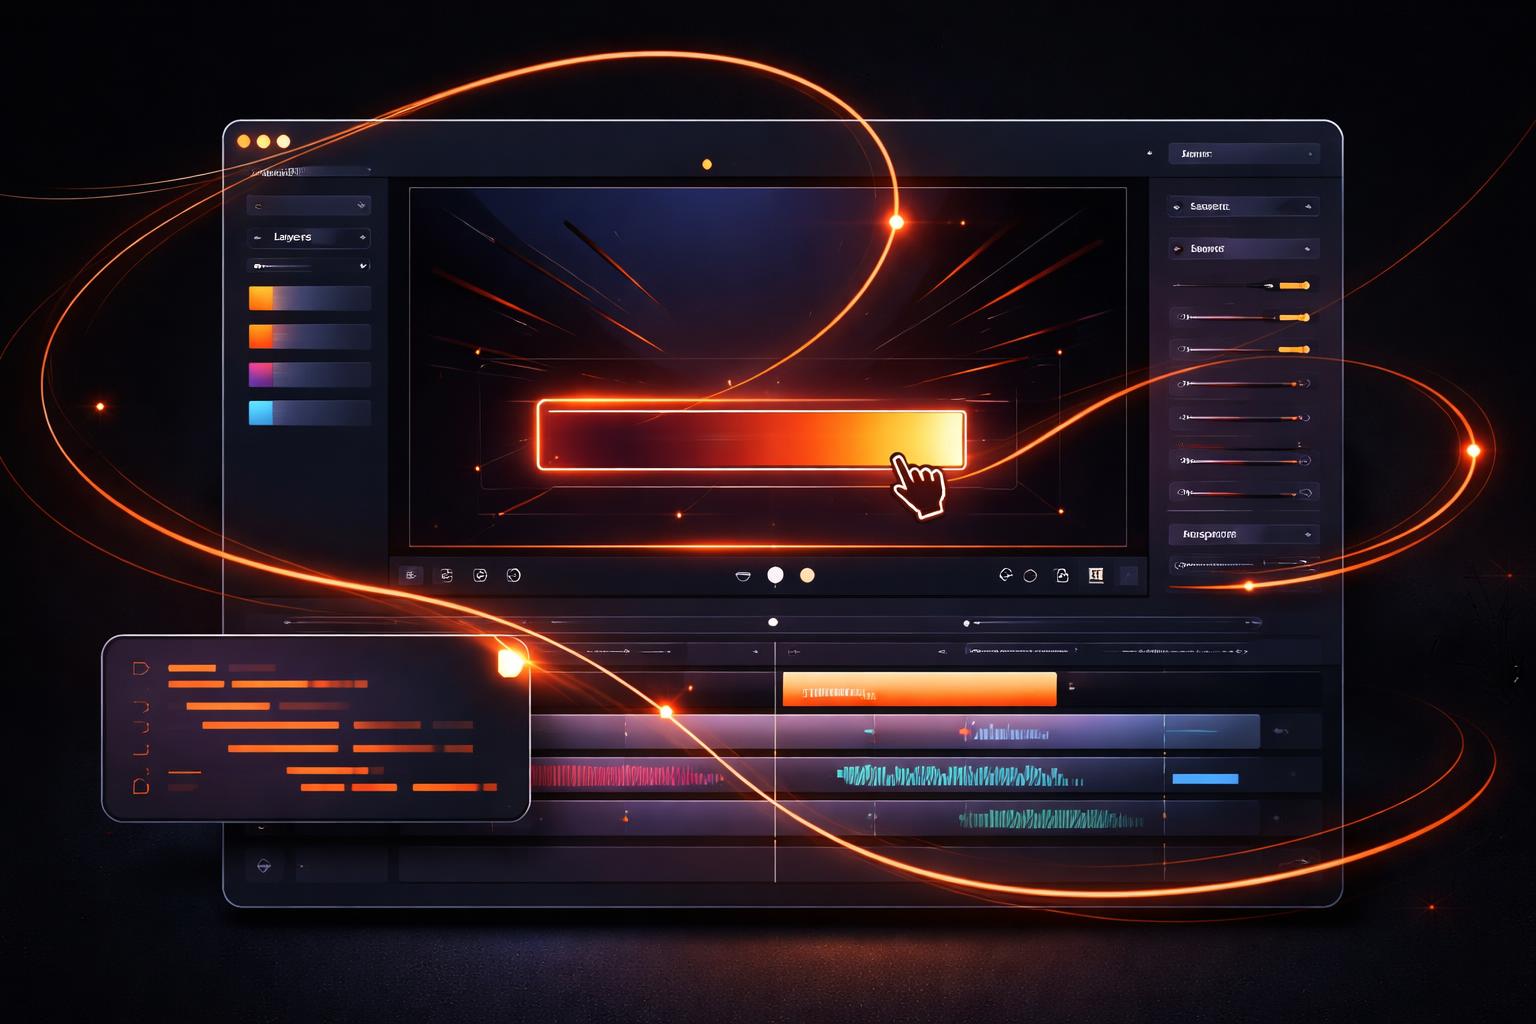
Programmatic Motion Graphics: Recreating After Effects Lower Thirds with Code
Motion graphics have traditionally been the domain of heavy desktop applications like After Effects. But for developers building SaaS platforms, content automation tools, or dynamic video experiences, the "manual edit" workflow is a massive bottleneck. You can't scale a personalized video strategy if every lower third requires a human to open a project file and hit render.
In this guide, we’ll explore how to treat programmatic motion graphics like any other part of your tech stack. We’ll use VideoFlow to recreate a professional-grade lower third—complete with animated backgrounds, cinematic transitions, and GLSL effects—using nothing but TypeScript.
Why Lower Thirds as Code?
A lower third is more than just text on a screen; it’s a branding anchor. When you automate these graphics, you unlock several advantages:
- Dynamic Data: Inject user names, job titles, or live stats directly into the video at render time.
- Resolution Independence: Author once, and render at 720p for social previews or 4K for high-end production without losing quality.
- Version Control: Your motion graphics live in Git. You can diff changes, revert regressions, and collaborate like a software team.

Step 1: Defining the Layout
In VideoFlow, we use a coordinate system that is normalized (0 to 1). This makes our graphics resolution-agnostic. Let's start by defining a background shape and a text layer for our lower third.
import VideoFlow from '@videoflow/core';

const $ = new VideoFlow({ width: 1920, height: 1080, fps: 30 });

// 1. Add an orange accent bar
const bar = $.addShape(
  {
    width: 30, height: 6,
    fill: '#FF5A1F',
    position: [0.2, 0.8], // Bottom left quadrant
  },
  {
    shapeType: 'rectangle',
    transitionIn: { transition: 'slideRight', duration: '500ms' }
  }
);

// 2. Add the name text
const name = $.addText({
  text: 'Alex Rivers',
  fontSize: 4,
  color: '#ffffff',
  fontWeight: 700,
  position: [0.21, 0.78],
});

name.fadeIn('600ms');
$.wait('3s');
By using the VideoFlow builder API, we avoid the complexity of manual frame calculations. The $.wait command handles the timing, allowing us to think in terms of flow rather than frame numbers.
Step 2: Adding Cinematic Polish
To make a graphic feel professional, you need more than just static layers. This is where VideoFlow's 27 transition presets and 42 GLSL effects come in.
Instead of a simple fade, let's use a blurResolve transition for the text and add a glow effect to the background bar to make it pop.
const bar = $.addShape(
  {
    width: 35, height: 8,
    fill: '#FF5A1F',
    position: [0.25, 0.85],
    effects: [
      { effect: 'glow', params: { strength: 0.5, radius: 10 } }
    ]
  },
  {
    shapeType: 'rectangle',
    transitionIn: { transition: 'slideRight', duration: '800ms', easing: 'easeOut' }
  }
);

const name = $.addText(
  {
    text: 'Software Engineer',
    fontSize: 3,
    color: '#ffffff',
    position: [0.25, 0.85],
  },
  {
    transitionIn: { transition: 'typewriter', duration: '1s' }
  }
);

Step 3: Animating with Keyframes
Static transitions are great for entry and exit, but for truly dynamic programmatic motion graphics, you need keyframe control. VideoFlow allows you to animate any property—from position and scale to the strength of a GLSL filter.
If you want to learn more about the math behind smooth motion, check out our previous post on Mastering Motion: A Deep Dive into VideoFlow Transitions and Easing.
// Subtle "breathing" animation for the accent bar
bar.animate(
  { scale: 1 },
  { scale: 1.05 },
  { duration: '2s', easing: 'easeInOut', wait: false }
);
How VideoFlow Handles the Render
Once your scene is composed, you can render it anywhere.
- In the Browser: Use
@videoflow/renderer-browserto let users export their own videos without hitting your server. - On the Server: Use
@videoflow/renderer-serverin a Node.js environment to generate MP4s in the background. - Live Preview: Use the Playground or
@videoflow/renderer-domto see your changes at 60 FPS as you type.
Unlike other tools that require complex FFmpeg commands or proprietary runtimes, VideoFlow produces a portable VideoJSON document. This JSON can be stored in a database, sent over an API, or rendered by any of our three official renderers.
Conclusion
Recreating After Effects-style graphics with code isn't just possible—it's the future of video production. By shifting from manual editing to programmatic motion graphics, you can build scalable video pipelines that react to data in real-time.
Ready to start building? Head over to the VideoFlow Docs to explore the full API, or dive into the GitHub repo to see how it works under the hood.